Cupcakes are the little black dress of baking — classic, flattering, and perfect for any occasion.
I’ll be honest: there was a time when my cupcakes came out looking like tiny muffins wearing frosting hats.
Dense. Flat. Slightly overbaked.
I’d see those fluffy, picture-perfect bakery cupcakes lined up behind glass displays and think, “How?!”
I also thought to myself there was NO way I was spending $6 on ONE cupcake!
But after some trial, error, and very patient taste-testers (they didn’t complain), I cracked the cupcake code. With the right tools and techniques, you can also bake cupcakes at home that look (and taste) like they came straight from a fancy bakery case.
Whether you’re prepping for a party, a bake sale, or just want to level-up your weeknight treats, this guide will walk you through everything you need to know — from mixing to frosting, and every sprinkle in between.
Let me teach you the magic!
Why Bakery Cupcakes Hit Different
It’s not just about how they taste (but that’s important too)!
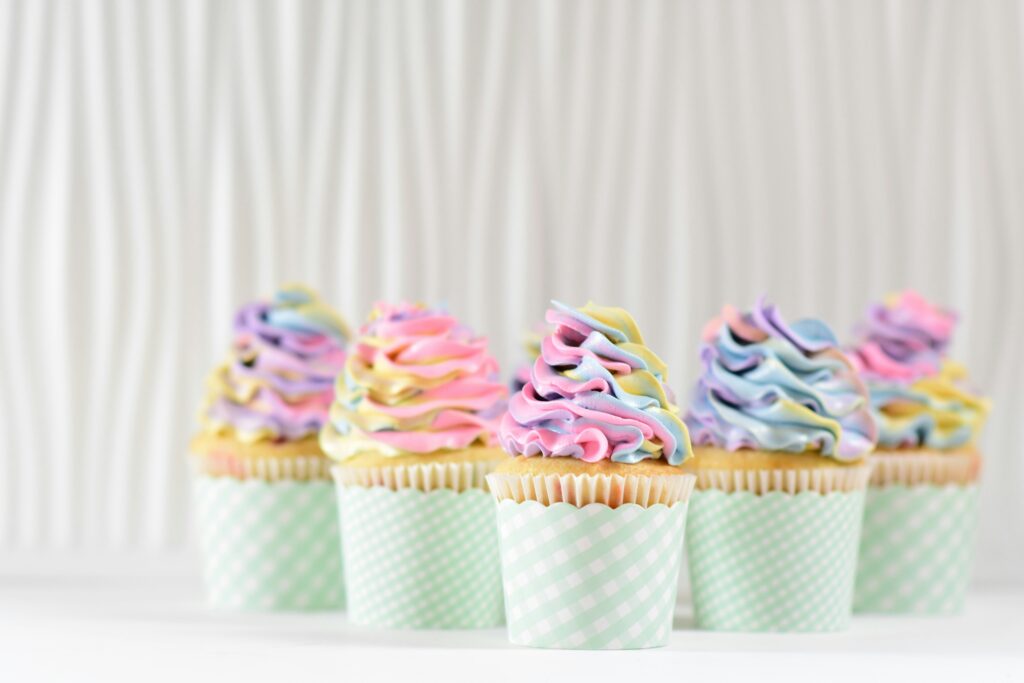
They’re also light and fluffy but still hold their shape. They dome on top instead of coming out flat. They’re piled high with swirled, sculpted frosting and dressed up in cute liners, sprinkles, or edible decorations. Most importantly, they’re moist, tender, and consistent bite after bite.
You can absolutely get that same wow-factor at home with just a few smart swaps and techniques.
Step 1: Start with the Right Recipe
Not all cupcake recipes are created equal. You want one that includes cake flour or a combo of all-purpose flour with cornstarch for a lighter texture, uses both oil and butter for moisture and flavor, and calls for buttermilk or sour cream to give the cupcakes a soft, tender crumb. And don’t forget: room temperature ingredients are non-negotiable for even mixing and better rise. If you’re going for chocolate, bloom high-quality cocoa powder with boiling water for deeper flavor. For vanilla, always use pure extract—it truly makes a difference.
Step 2: Don’t Overmix (Seriously)
Once you add flour, it’s crucial to mix only until just combined. Overmixing develops too much gluten, leading to dense or rubbery cupcakes. I learned this the hard way after baking a batch that had the texture of cornbread—not what I was going for. If you’re unsure, finish mixing by hand with a spatula to gently fold everything together.
Step 3: The Secret to Perfect Domed Tops
Here’s the trick to those beautiful domed tops: preheat your oven to 375°F and bake at that temperature for the first 5 minutes. Then reduce the heat to 350°F to finish. That initial blast of high heat gives your cupcakes lift, creating the rounded tops you see in bakeries. Also, be sure to only fill your cupcake liners about ⅔ full—any more and they’ll overflow; any less and they won’t dome properly.
Step 4: Choose the Right Pan & Liners
Believe it or not, not all pans are created equal. Upgrading to a heavy-duty, nonstick cupcake pan with even heat distribution made a huge difference in my baking. Also, use greaseproof liners that hold their color and don’t peel away from the cupcake. And for even results, a cookie scoop is a game-changer when filling your liners.
Step 5: Let Them Cool Completely
I know—it’s tempting to frost your cupcakes while they’re still warm and the kitchen smells like sugar and joy. But resist! Let them cool in the pan for 5 minutes, then move them to a wire rack to cool completely. If you frost too soon, your beautiful swirls will melt into a sad puddle. (Been there.)
Step 6: Frost Like a Pro
This is where your cupcakes go from cute to showstoppers. Use a large open star or round piping tip and either a reusable or disposable piping bag. Pipe your frosting by starting in the center and swirling outward and up. Practice on parchment paper if you’re nervous. The frosting should be thick enough to hold its shape—American buttercream or Swiss meringue both work beautifully.
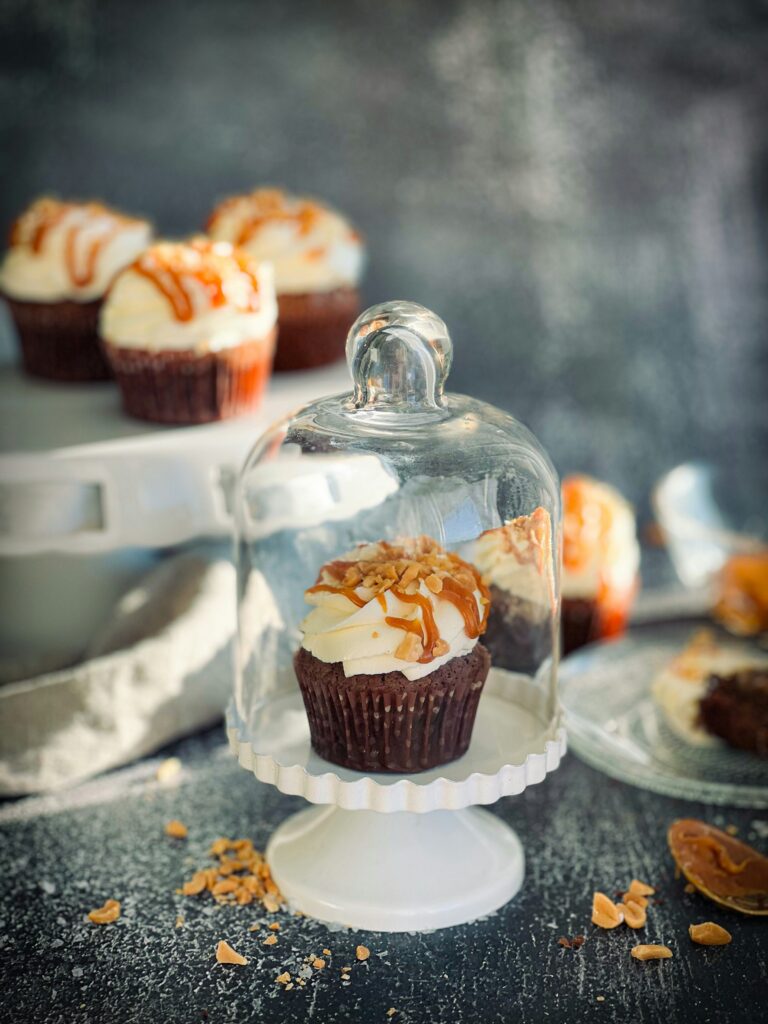
Step 7: Add Finishing Touches
Now comes the fun part: decorating! Think of your frosting swirl as a blank canvas. You can add sprinkles, sanding sugar, or crushed freeze-dried fruit for texture. Top with mini cookies, chocolate pieces, or fruit slices. Want to go elegant? Try edible flowers or themed toppers. A light dusting of powdered sugar or cocoa also adds a professional touch.
My Favorite Flavors to Start With
If you’re ready to start experimenting, try one of these crowd-pleasing combos:
Vanilla Bean Cupcakes with Strawberry Buttercream
Double Chocolate Cupcakes with Whipped Ganache
Lemon Cupcakes with Raspberry Swirl Frosting
Pumpkin Spice Cupcakes with Maple Frosting
Funfetti Cupcakes with Cream Cheese Frosting
Bonus tip: bake a few extra and freeze the unfrosted cupcakes. They’re perfect for last-minute celebrations or late-night sweet cravings.
Here is my go-to cupcake recipe! Try it out and make it your own.
Bakery-Style Vanilla Cupcakes
Makes: 12 standard cupcakes | Prep Time: 15 minutes | Bake Time: 18–22 minutes | Total Time: ~35 minutes
Ingredients
Dry: 1 ¼ cups (150g) all-purpose flour (or cake flour), 1 ½ tsp baking powder, ¼ tsp baking soda, ¼ tsp salt
Wet: ½ cup (1 stick) unsalted butter, room temperature, ¾ cup (150g) sugar, 2 eggs, 2 tsp vanilla extract, ½ cup sour cream or Greek yogurt, ¼ cup whole milk
Instructions
Preheat your oven to 375°F. Line a 12-cup muffin pan with liners. In a medium bowl, whisk the dry ingredients. In a separate large bowl, cream the butter and sugar until light and fluffy (2–3 minutes). Add the eggs one at a time, beating well after each, then add vanilla. Mix in sour cream and milk just until combined. Slowly add dry ingredients and mix until just incorporated. Divide the batter evenly into liners (about ⅔ full each). Bake at 375°F for 5 minutes, then lower to 350°F and bake another 13–17 minutes, until a toothpick comes out clean. Let cool in the pan 5 minutes, then transfer to a wire rack.
Frosting Tip
These cupcakes go well with any style of frosting: American, Swiss meringue, cream cheese, or whipped ganache. For a bakery look, use a Wilton 1M or 2D piping tip and swirl high!
Make It Yours
Add some homemade sprinkles for funfetti, swap extracts (almond, lemon, etc.), or fill with jam or ganache for a surprise inside.
Check out some easy and tasty frosting recipes here.
Just remember: you don’t need a professional kitchen or fancy training to make cupcakes that look like they belong behind bakery glass.
You just need the right recipe, the right tools, and a little confidence.
Happy baking!